腾讯云服务器初始化操作
本文最后更新于:2025年2月22日 下午
重装系统
📓 说明:
因为我买的时候,CentOS 最新只提供到 7.3, 我希望使用 CentOS 7.5. 看到镜像库里有 (什么毛病,买的时候为啥不提供), 所有重新安装下系统.
-
选中实例,点击更多 , 选择重装系统:
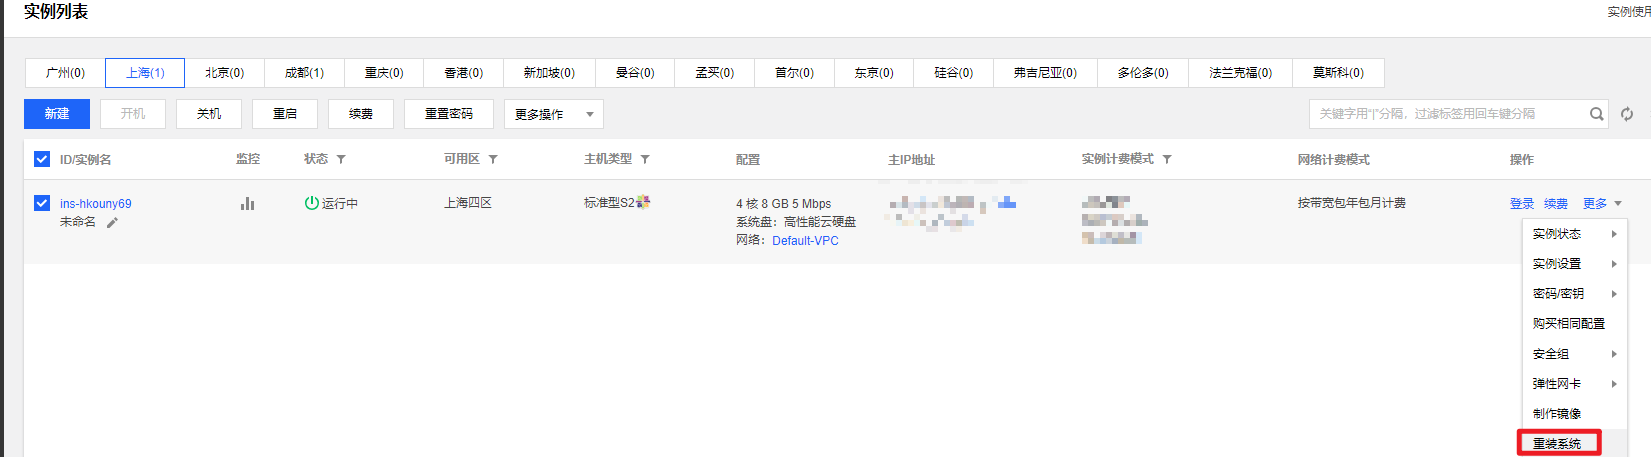
-
选择公共镜像 -> CentOS -> CentOS 7.5 64 位 -> 输入 root 密码。点击开始重装. 如下图:
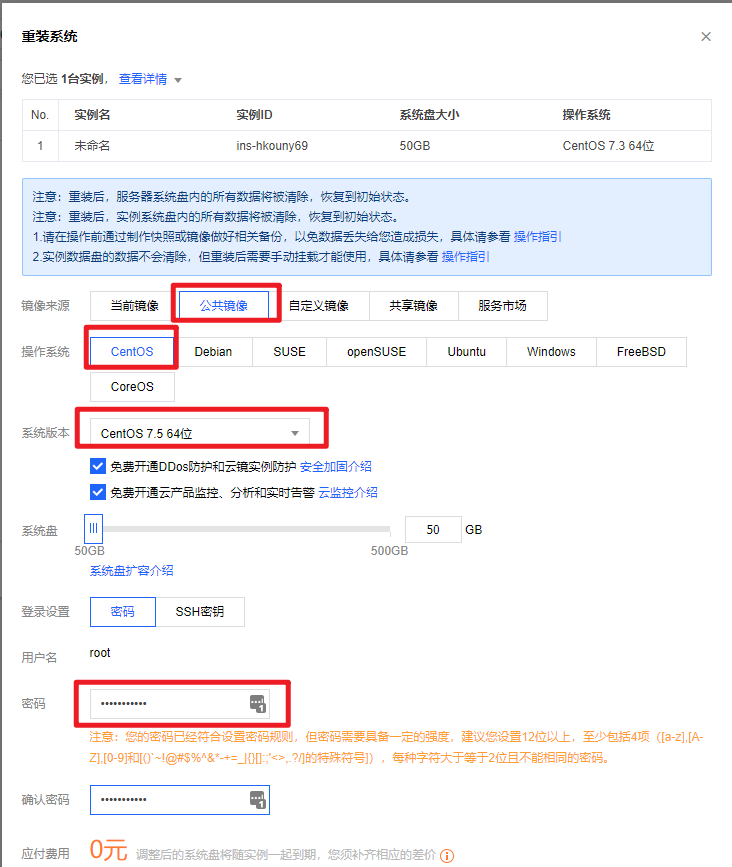
-
等待重装完毕即可.
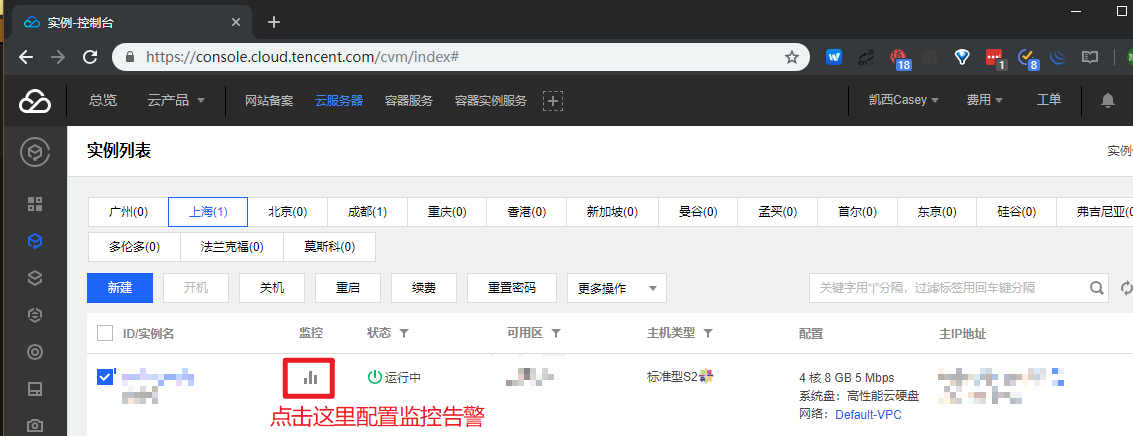
设置监控告警
-
点击监控图标:
-
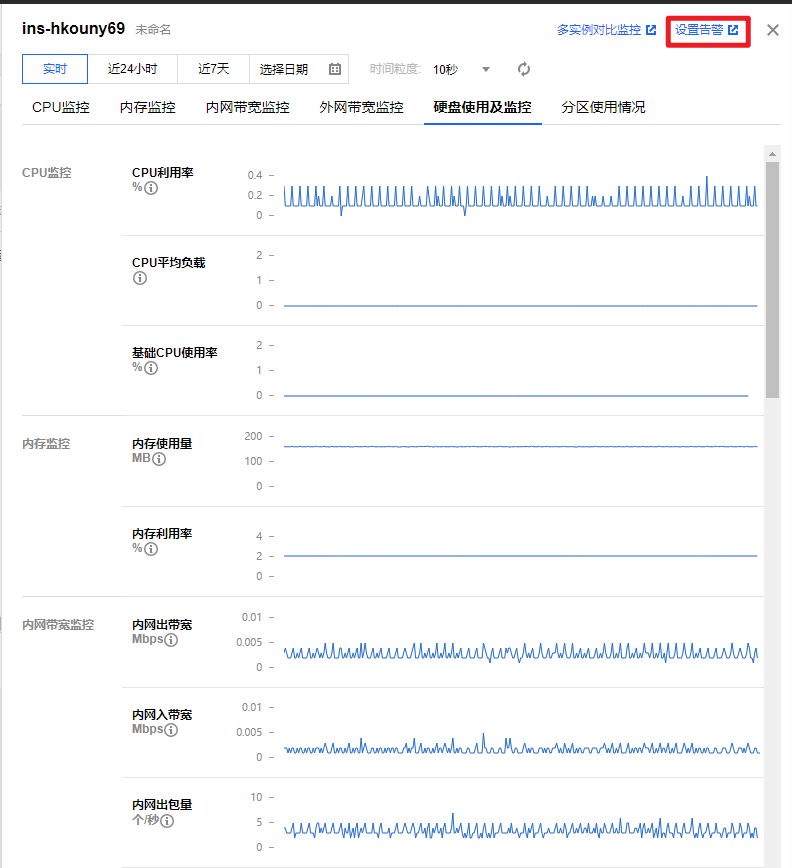
有以下监控指标,如下图,点击设置告警:
- CPU
- 内存
- 宽带 (内外网)
- 磁盘 IO
- 分区使用请看
-
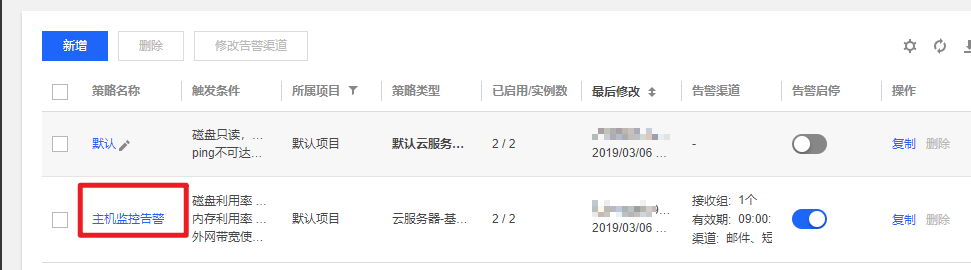
根据自己的需要,定制告警策略。示例如下:
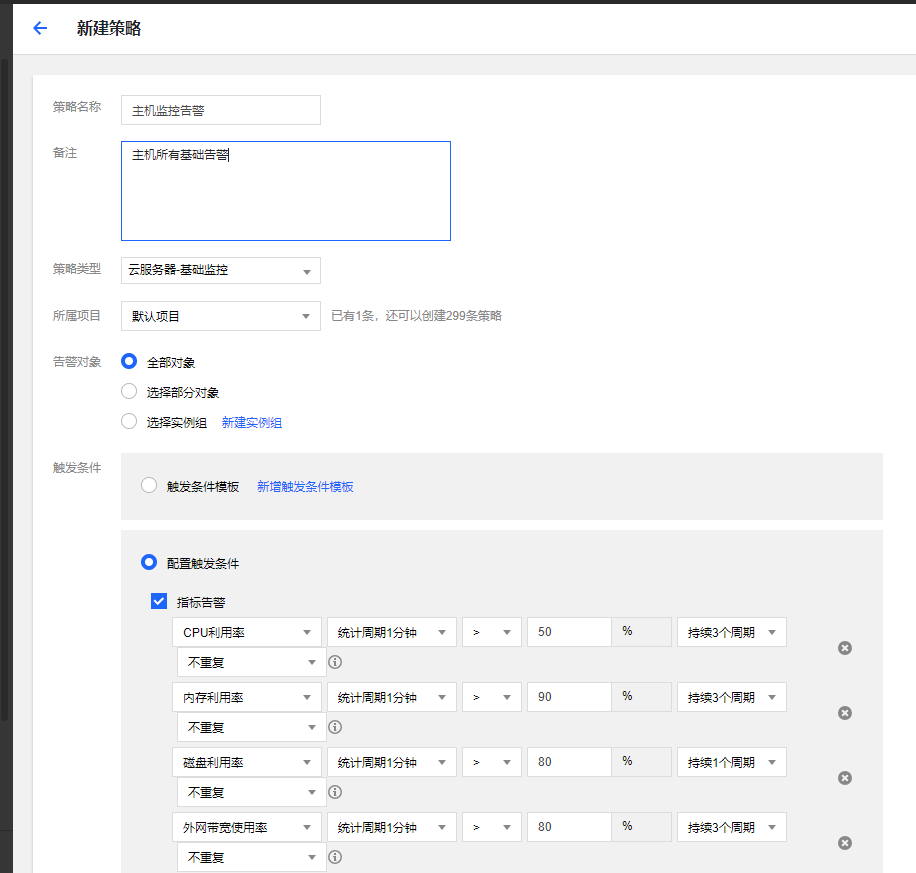
-
要配置告警通知渠道,需要先新增用户组. 如下 (我和其他人合用,所以建立一个用户组还是有必要的):
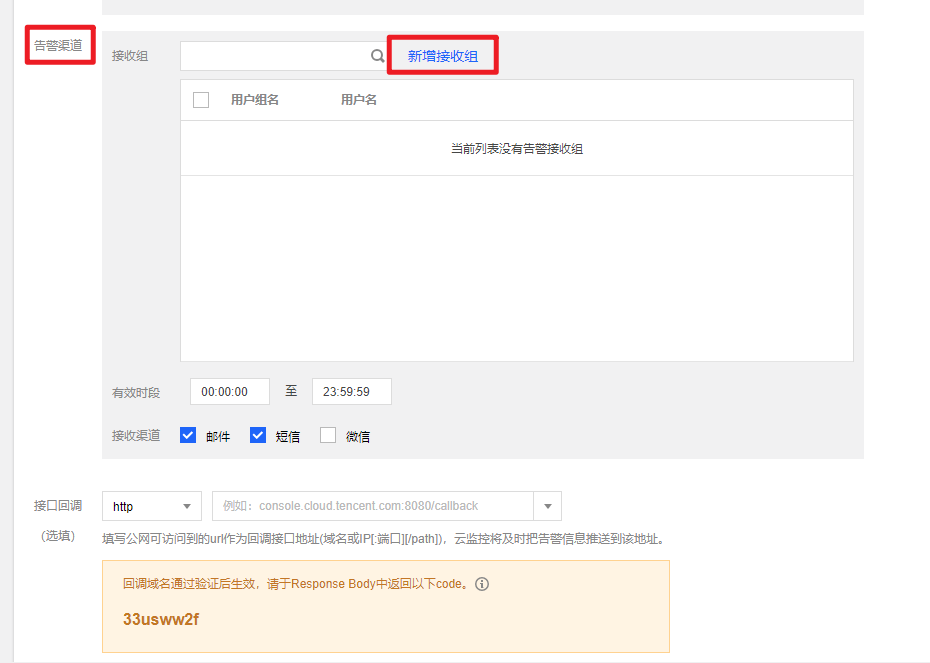
-
新增用户组的操作如下,先直接使用预设策略 - 管理员就可以了.
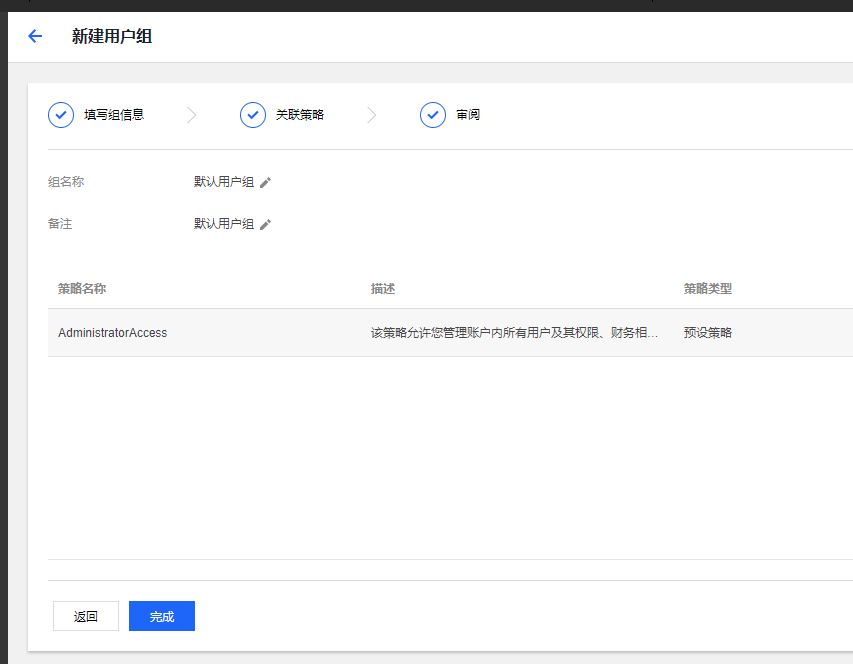
-
接下来关联到具体的用户组
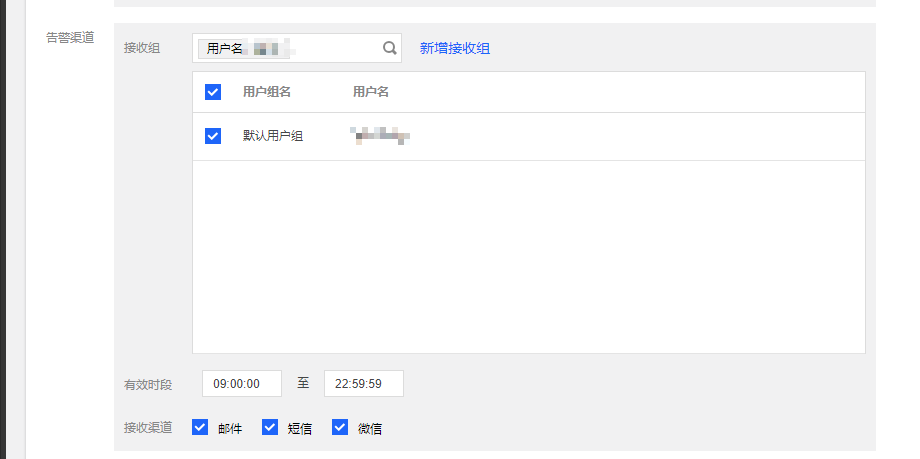
-
点击完成 , 配置完成后如下所示: (可以把默认的禁用掉了)
创建密钥并绑定主机
-
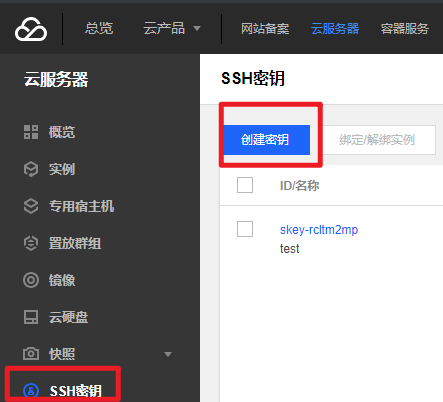
在 SSH 密钥 菜单,点击创建密钥:
-
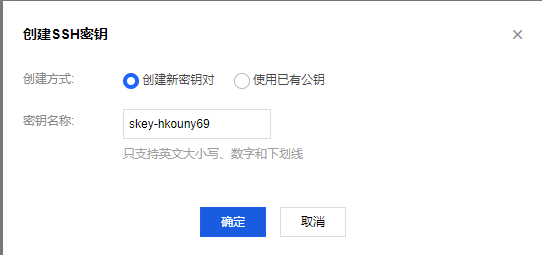
创建密钥 (❗ 密钥请妥善保存,勿外传).
-
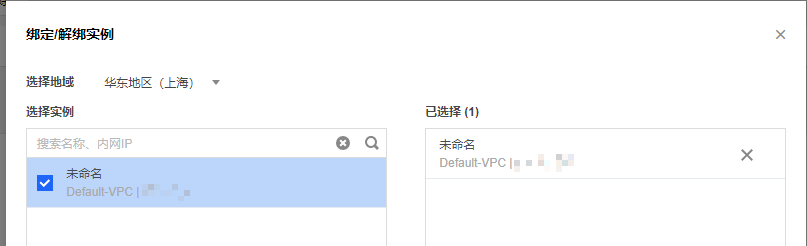
创建后,先关闭主机 (关闭后的主机才能绑定密钥,很好,关机也受到告警了👌), 再选择绑定 / 解绑实例 , 如下图:
安全组配置
📓 备注:
类似于防火墙权限.
-
点击安全组 -> 新建. 如下图:

-
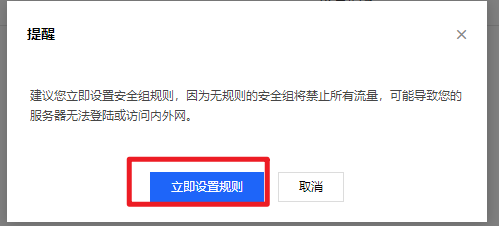
选择立即设置规则. 具体原因如下图:
-
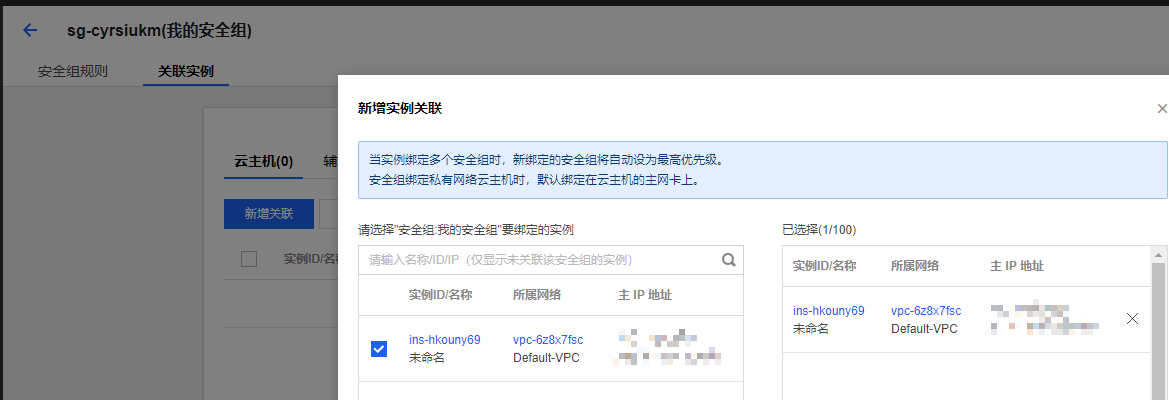
可以先关联到我自己的云主机实例。如下图:
-
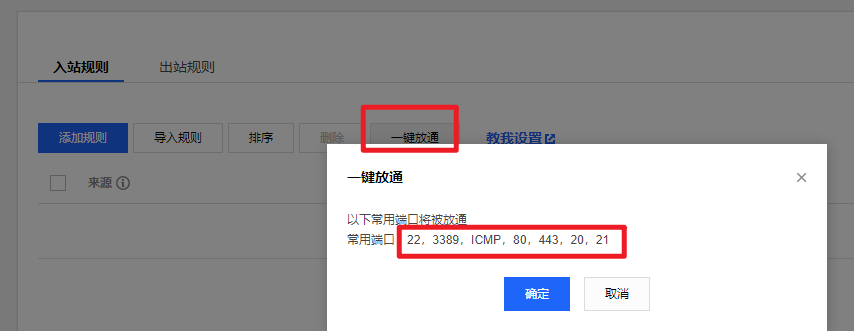
然后再配置出 / 入站规则,先配置入站,先选择一键放通. 放通以下:
- Linux SSH 登录: 22 端口
- Windows 登录: 3389
- ping: ICMP 协议
- HTTP: 80
- HTTPS: 443
- FTP: 20 和 21
-
再根据自己需要添加规则,如下: (放通 TCP 的 8000 端口)

-
最后配置出站规则,选择一键放通. 以后再慢慢细化,如下:

至此,控制台上该配置的就配置的差不多了,接下来登录主机进行配置.
CentOS 7.5 优化配置
用户 / 登录相关优化
创建普通用户 基于公钥登录
-
创建普通用户:
useradd -m -p yourpassword casey -
普通用户基于公钥登录: (因为之前创建密钥并绑定主机 , 公钥已经存在于主机上了,所以不需要 keygen 了,直接复制就可以了)
1
cp /root/.ssh/authorized_keys /home/casey/.ssh && chown -R casey:casey /home/casey/.ssh/ -
确认基于 ssh 公钥的登录是否工作
📓 备注:
完整的基于公钥登录的步骤如下: (前提是刚开始该账户能通过账号密码方式登录)
- 在云主机上创建普通用户:
useradd -m -p yourpassword hellowordomain- 使用 ssh-keygen 命令在云主机上创建密匙对:
ssh-keygen -t rsa -b 4096 -f ~/.ssh/id_rsa_tencent_$(date +%Y-%m-%d) -C "tencent key for hellowordomain"- 使用 ssh-copy-id 命令安装公匙:
ssh-copy-id -i /path/to/public-key-file user@host- 确认基于 ssh 公钥的登录是否工作
普通用户配置 sudo 权限
在 CentOS/RHEL 系统中如何将用户 vivek 添加到 sudo 组中
在 CentOS/RHEL 和 Fedora 系统中允许 wheel 组中的用户执行所有的命令。使用 usermod 命令将用户 vivek 添加到 wheel 组中:
1 | |
sudo 无需输入密码
1 | |
测试并确保用户 vivek 可以以 root 身份登录执行以下命令:
1 | |
sshd_config 优化
1 | |
最后测试 sshd_config 文件并重启 / 重新加载 SSH 服务
1 | |
更新系统和软件
1 | |
安装及配置 Git
-
安装 Git
1
sudo yum install -y --setopt=tsflags=nodocs git -
配置 git
1
2
3
4git config --global user.name "east4ming"
git config --global user.email "cuikaidong@foxmail.com"
ssh-keygen -t rsa -b 4096 -C "cuikaidong@foxmail.com" # 已有私钥也可以重复使用 -
cat .ssh/id_rsa.pub并复制 (id_rsa.pub 是对应的公钥信息) -
打开 github 网页登入账户进入账户 settings 左边找到 SSH,可以清理一下没用的 SSH keys,然后新建一个 ,取名任意,粘贴进去 cat 产生的所有字符。保存即可。
-
缓存 HTTPS 方式的密码:
1
2
3$ git config --global credential.helper 'cache --timeout=3600'
# Set the cache to timeout after 1 hour (setting is in seconds)
优化配置 shell
安装 zsh
1 | |
安装 powerline
1 | |
安装 oh-my-zsh
1 | |
Using Oh My Zsh
以下内容来自 oh-my-zsh github
Plugins
Oh My Zsh comes with a shitload of plugins to take advantage of. You can take a look in the plugins directory and/or the wikito see what’s currently available.
Enabling Plugins
Once you spot a plugin (or several) that you’d like to use with Oh My Zsh, you’ll need to enable them in the .zshrc file. You’ll find the zshrc file in your $HOME directory. Open it with your favorite text editor and you’ll see a spot to list all the plugins you want to load.
1 | |
For example, this might begin to look like this:
1 | |
Using Plugins
Most plugins (should! we’re working on this) include a README, which documents how to use them.
Themes
We’ll admit it. Early in the Oh My Zsh world, we may have gotten a bit too theme happy. We have over one hundred themes now bundled. Most of them have screenshots on the wiki. Check them out!
Selecting a Theme
Robby’s theme is the default one. It’s not the fanciest one. It’s not the simplest one. It’s just the right one (for him).
Once you find a theme that you’d like to use, you will need to edit the ~/.zshrc file. You’ll see an environment variable (all caps) in there that looks like:
1 | |
To use a different theme, simply change the value to match the name of your desired theme. For example:
1 | |
Note: many themes require installing the Powerline Fonts in order to render properly.
Open up a new terminal window and your prompt should look something like this:

In case you did not find a suitable theme for your needs, please have a look at the wiki for more of them.
If you’re feeling feisty, you can let the computer select one randomly for you each time you open a new terminal window.
1 | |
And if you want to pick random theme from a list of your favorite themes:
1 | |
