本文最后更新于:2025年2月22日 下午
系列文章前情提要:
- WireGuard 系列文章(一):什么是 VPN
- WireGuard 系列文章(二):WireGuard 简介 - 快速、现代、安全的 VPN 隧道
WireGuard 的安装都不难,这里以我用到的设备为例,包括:
- Linux - Ubuntu 20.04
- Windows 10
- NAS - 威联通 QTS 5.0
- 安卓
Ubuntu 20.04
⚠️ 注意:
WireGuard 对 Linux 内核版本有要求,5.4 以上内核才将其纳入其中。
如果内核低于该版本(典型如:RHEL 和 CentOS),就需要比较复杂的涉及内核编译的过程,请自行登录官网查找详细信息。
1
| $ sudo apt install wireguard
|
安装成功后,有以下文件:
- CLI
wgwg-quick
- Systemd
wg-quick@.servicewg-quick.target
1
2
3
4
5
6
7
8
9
10
11
12
13
14
15
16
17
18
19
20
21
22
23
24
25
26
27
28
29
30
31
32
33
34
35
36
37
38
39
40
41
42
43
44
45
|
/usr/bin/wg
/usr/bin/wg-quick
drwx------ 2 root root 4096 Aug 4 2020 wireguard
UNIT FILE STATE VENDOR PRESET
wg-quick@.service disabled enabled
wg-quick.target static enabled
/lib/systemd/system
[Unit]
Description=WireGuard via wg-quick(8) for %I
After=network-online.target nss-lookup.target
Wants=network-online.target nss-lookup.target
PartOf=wg-quick.target
Documentation=man:wg-quick(8)
Documentation=man:wg(8)
Documentation=https://www.wireguard.com/
Documentation=https://www.wireguard.com/quickstart/
Documentation=https://git.zx2c4.com/wireguard-tools/about/src/man/wg-quick.8
Documentation=https://git.zx2c4.com/wireguard-tools/about/src/man/wg.8
[Service]
Type=oneshot
RemainAfterExit=yes
ExecStart=/usr/bin/wg-quick up %i
ExecStop=/usr/bin/wg-quick down %i
ExecReload=/bin/bash -c 'exec /usr/bin/wg syncconf %i <(exec /usr/bin/wg-quick strip %i)'
Environment=WG_ENDPOINT_RESOLUTION_RETRIES=infinity
[Install]
WantedBy=multi-user.target
[Unit]
Description=WireGuard Tunnels via wg-quick(8)
|
✔️ 实用技巧:
可以在 WireGuard 的 Service 文件中加入如下一行,重新加载配置流量不中断。
ExecReload=/bin/bash -c 'exec /usr/bin/wg syncconf %i <(exec /usr/bin/wg-quick strip %i)'
Windows 10
安装后 WireGuard UI 如下:
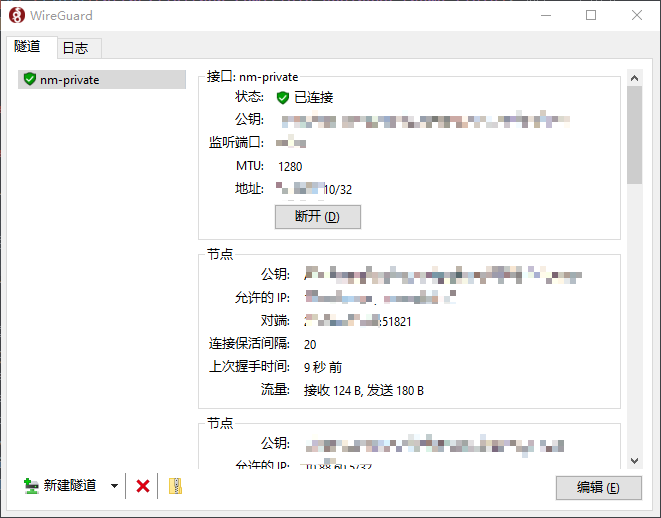
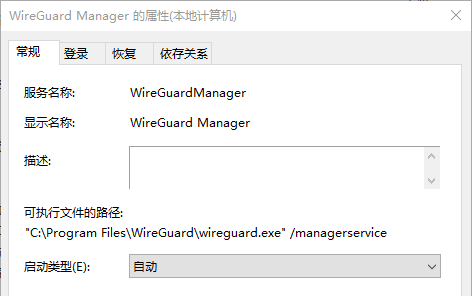
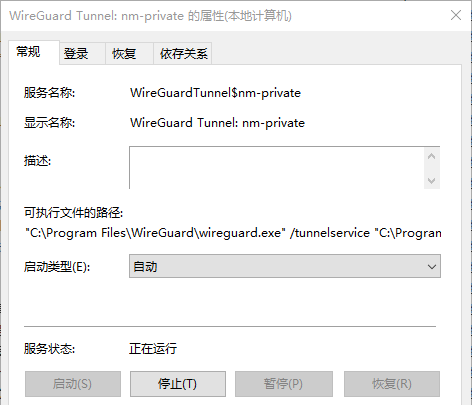
启动 WireGuard 后会有 2 个服务:
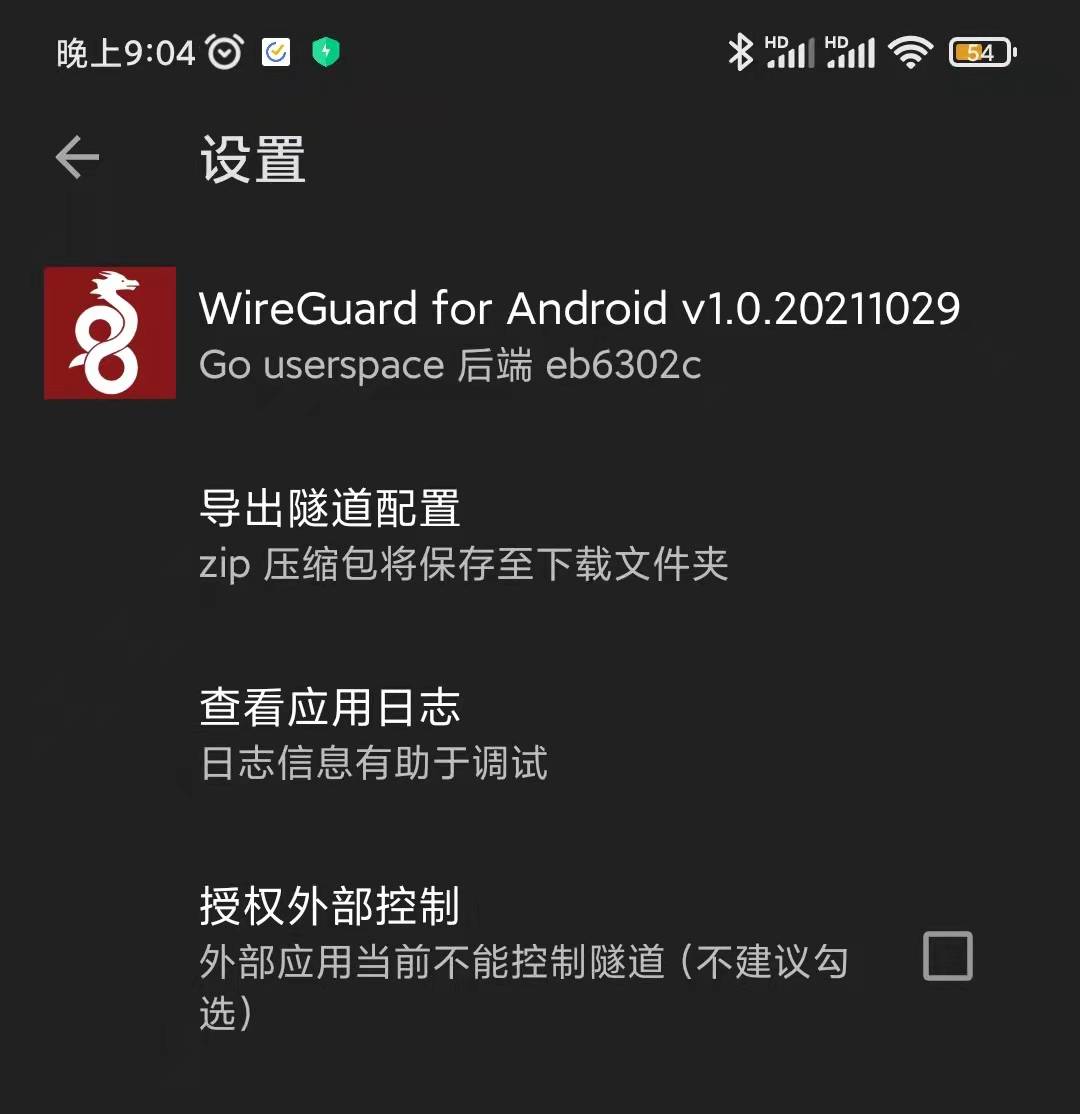
Android
WireGuard Android 客户端:
威联通 QTS 5.0
我为啥会捣鼓 WireGuard,其实事情是这样滴:
-
家里的电信网,没有公网 IPv4,之前打电话要求有公网地址,给了个公网 IPv4,结果多一段时间发现又偷偷被收回了😓 虽然有 IPv6 公网地址,但是很多应用不支持
-
威联通提供的 QnapCloud 在没有公网 IPv4 的前提下,使用体验差极了
-
用 OpenVPN 和 IPsec 都搭建过家庭 VPN,性能、使用体验确实不行
-
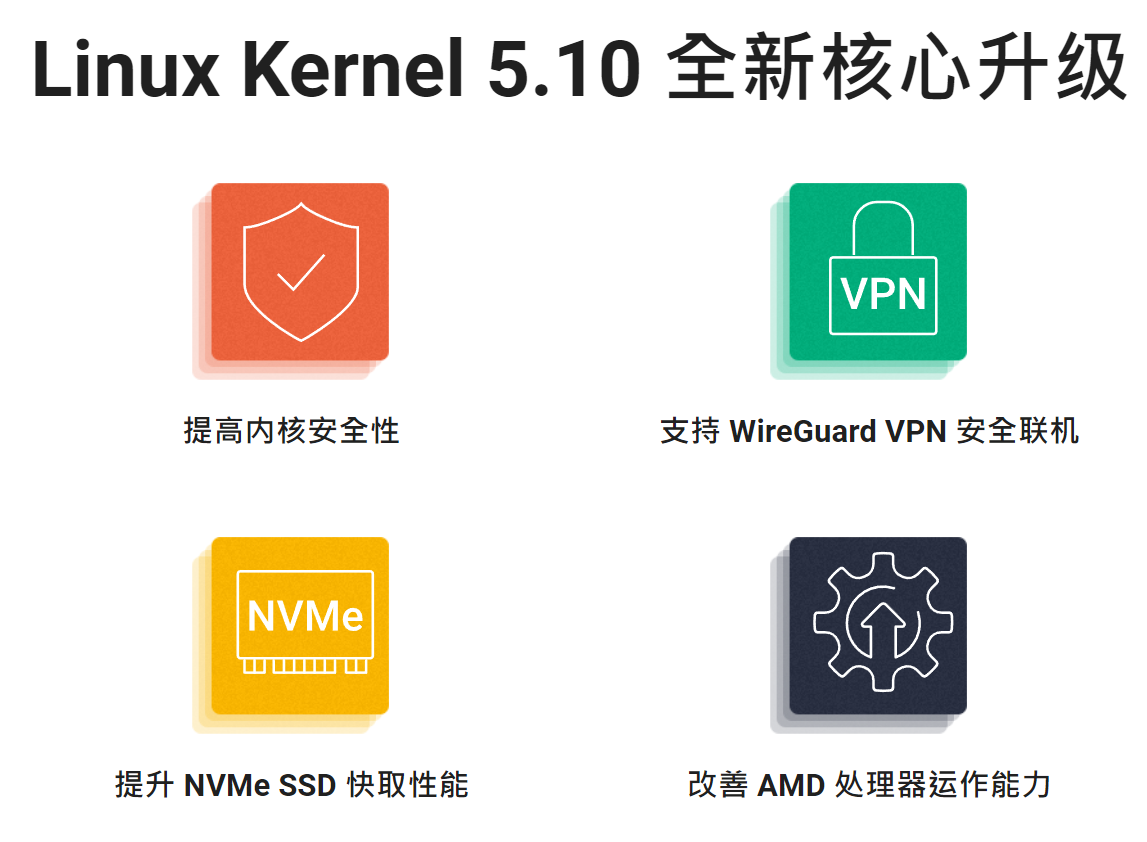
前端时间 NAS 升级到 QTS 5.0(出于安全目的,会紧跟厂商升级),发现它 Linux Kernel 已经升级到 5.10, 自带 WireGuard:😏😏😏
-
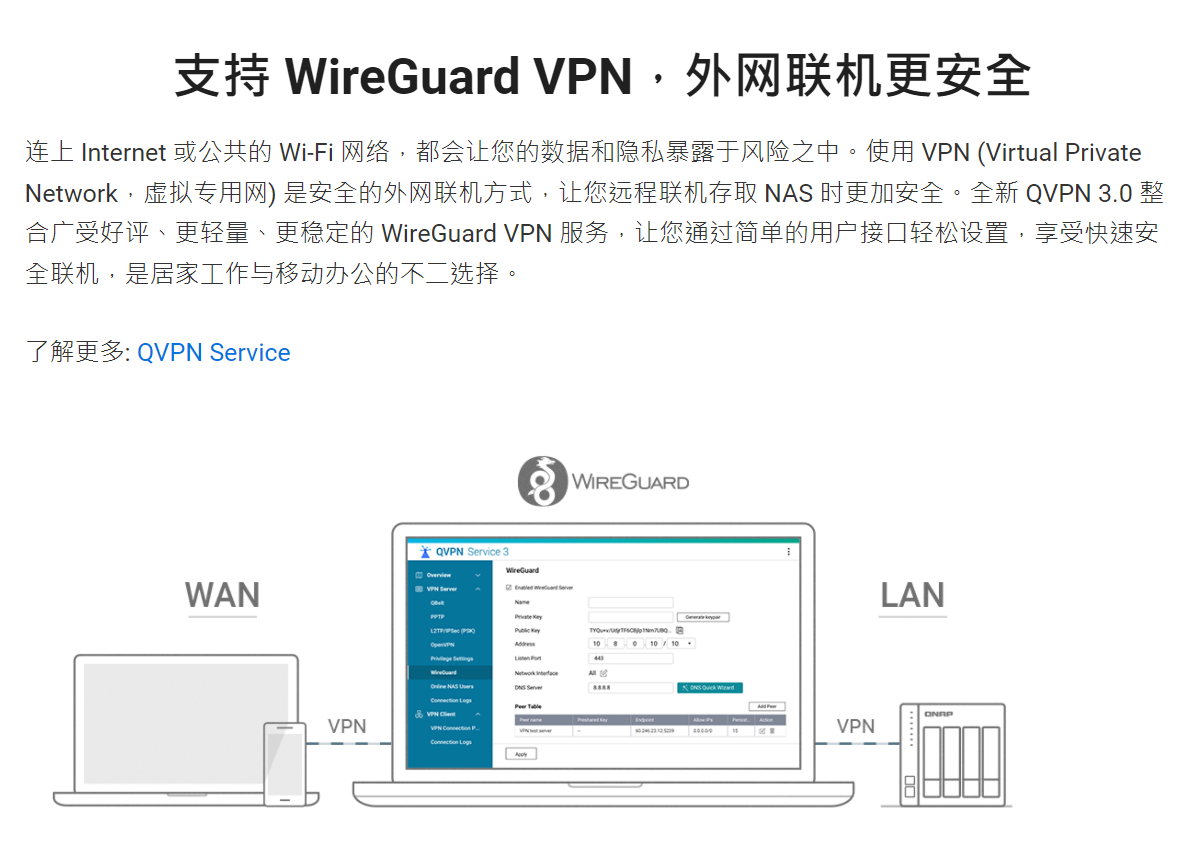
「全新 QVPN 3.0 整合广受好评、更轻量、更稳定的 WireGuard VPN 服务,让您通过简单的用户接口轻松设置,享受快速安全联机,是居家工作与移动办公的不二选择。」好家伙,这么牛逼吗?那必须得试一试。
-
所以才有这一个多月捣鼓 WireGuard 的过程。
综上,QTS 5.0 内置 WireGuard,无需安装。
自带内容包括:
1
2
3
4
5
6
7
8
9
10
11
12
13
14
15
16
17
18
19
20
21
22
23
24
25
| [~]
/usr/bin/wg
[~]
/usr/bin/wg-quick
[~]
/share/CACHEDEV1_DATA/.qpkg/CodexPack/sys/module/wireguard
/share/CACHEDEV1_DATA/.qpkg/QVPN/wireguard_log
/sys/module/wireguard
/mnt/HDA_ROOT/.config/qvpn/wireguard
[~]
total 16K
drwxr-xr-x 2 admin administrators 4.0K 2021-11-12 23:01 ./
drwxr-xr-x 13 admin administrators 4.0K 2021-11-15 23:00 ../
-rw-rw-rw- 1 admin administrators 6.8K 2021-12-07 21:14 wg_server.log
[~]
/share/CACHEDEV1_DATA/.qpkg/container-station/usr/local/container-station/python/lib/python2.7/site-packages/pyroute2/netlink/generic/wireguard.pyc
/share/CACHEDEV1_DATA/.qpkg/container-station/usr/local/container-station/python/lib/python2.7/site-packages/pyroute2/netlink/generic/wireguard.py
/share/CACHEDEV1_DATA/.qpkg/container-station/usr/local/container-station/python/lib/python2.7/site-packages/scapy/contrib/wireguard.pyc
/share/CACHEDEV1_DATA/.qpkg/container-station/usr/local/container-station/python/lib/python2.7/site-packages/scapy/contrib/wireguard.py
/share/CACHEDEV1_DATA/.qpkg/QVPN/etc/init.d/vpn_wireguard_client.sh
/share/CACHEDEV1_DATA/.qpkg/QVPN/etc/init.d/vpn_wireguard.sh
/lib/modules/5.10.60-qnap/wireguard.ko
|
参考资料
